
Heads up! We may use affiliate links in this post. You'll never pay more, but we might earn a small commission if you buy - thanks for supporting us! See our full disclosure here.
A few years ago, the idea of making my own face oil felt like something reserved for people with allotments, a pantry full of mason jars, and infinitely more patience than me.
But since then—maybe because skincare trends on TikTok now vanish almost as quickly as they appear, or maybe because the cost of living has turned every so-called age-defying elixir into a luxury my bank account politely declines—I’ve found myself turning to homemade recipes for both my hair and skin.
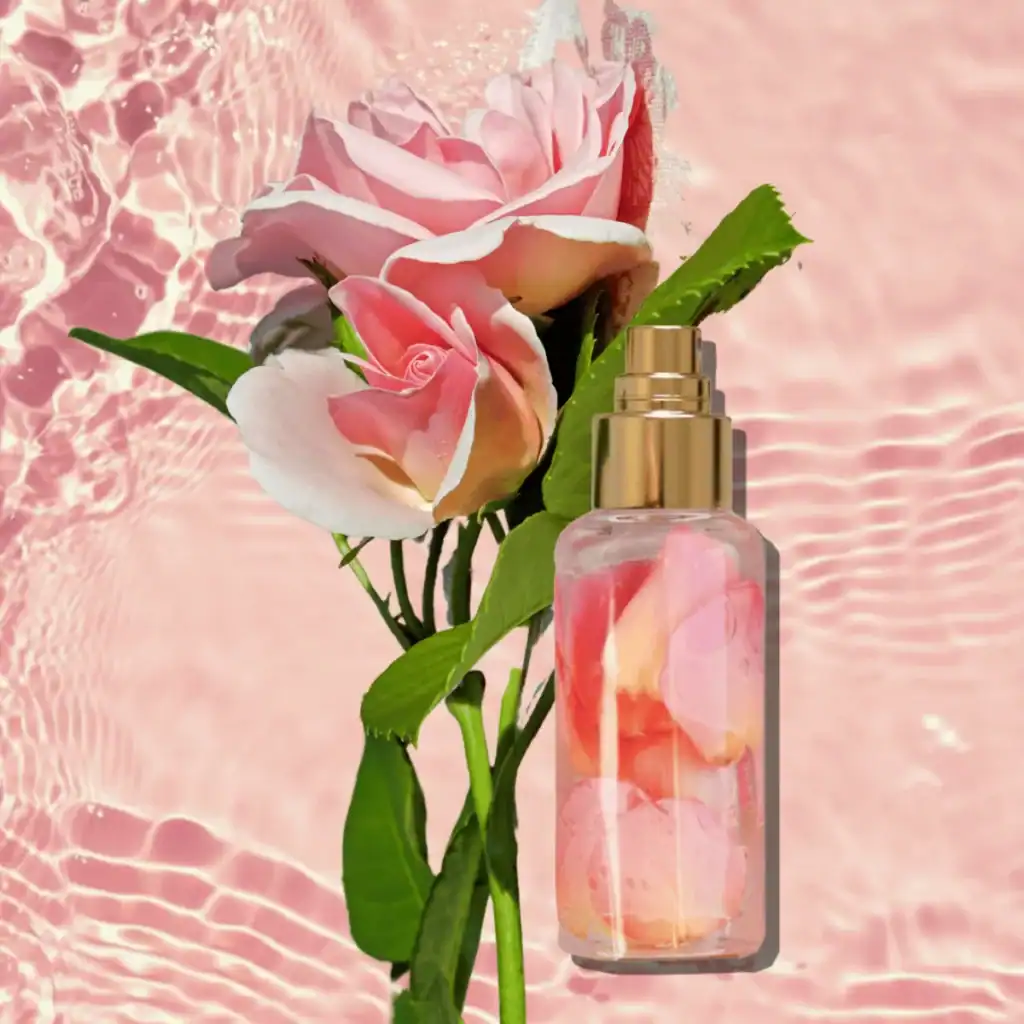
Enter: homemade rosehip oil. Or as I’ve come to think of it—a little bottle of warmth, ritual, and skin-loving, infused oil magic.
PIN FOR LATER 📌

And it turns out I’m not alone in leaning into a slower, more elemental kind of beauty. At Paris Fashion Week in October 2023, the Pamela Anderson made headlines simply for showing up with—well, nothing.
No makeup, no filters, no fillers. As Vogue reported: “While her body was styled to a tee, she only wore a single thing on her face: homemade rosehip oil from her garden.”
So, if you’re feeling inspired to make your own, this post walks you through exactly how to do it—gently, affordably, and in a way that feels like care, not just skincare.
Why Rosehip Oil Still Deserves A Spot In Your Routine
Rosehips (those bright red seed pods left behind when roses drop their petals) have been used in skincare for centuries. And while plenty of skincare trends have come and gone, rosehip oil is ageing like a fine wine—quietly, gracefully, and still very much worth your attention.
Rich in essential fatty acids—particularly linoleic and linolenic acid—this golden-hued hip oil supports skin barrier function, helps calm inflammation, and gives dull skin that soft, healthy radiance.

It’s also high in vitamins A and C, which are known to support collagen production and even out tone. Think: glow, but from the gentlest slow burn—not a chemical jolt.
If you’re someone who prefers your skincare simple, multi-tasking, and low-key luxurious, a well-made rosehip-infused oil can be a quiet game changer.

What You’ll Need To Make Rosehip Oil At Home
Making DIY rosehip oil is far less intimidating than it sounds—and chances are you already have a few of these tools lying around:
- Dried rose hips (or rosehips) – easily found online or at your local herbal shop
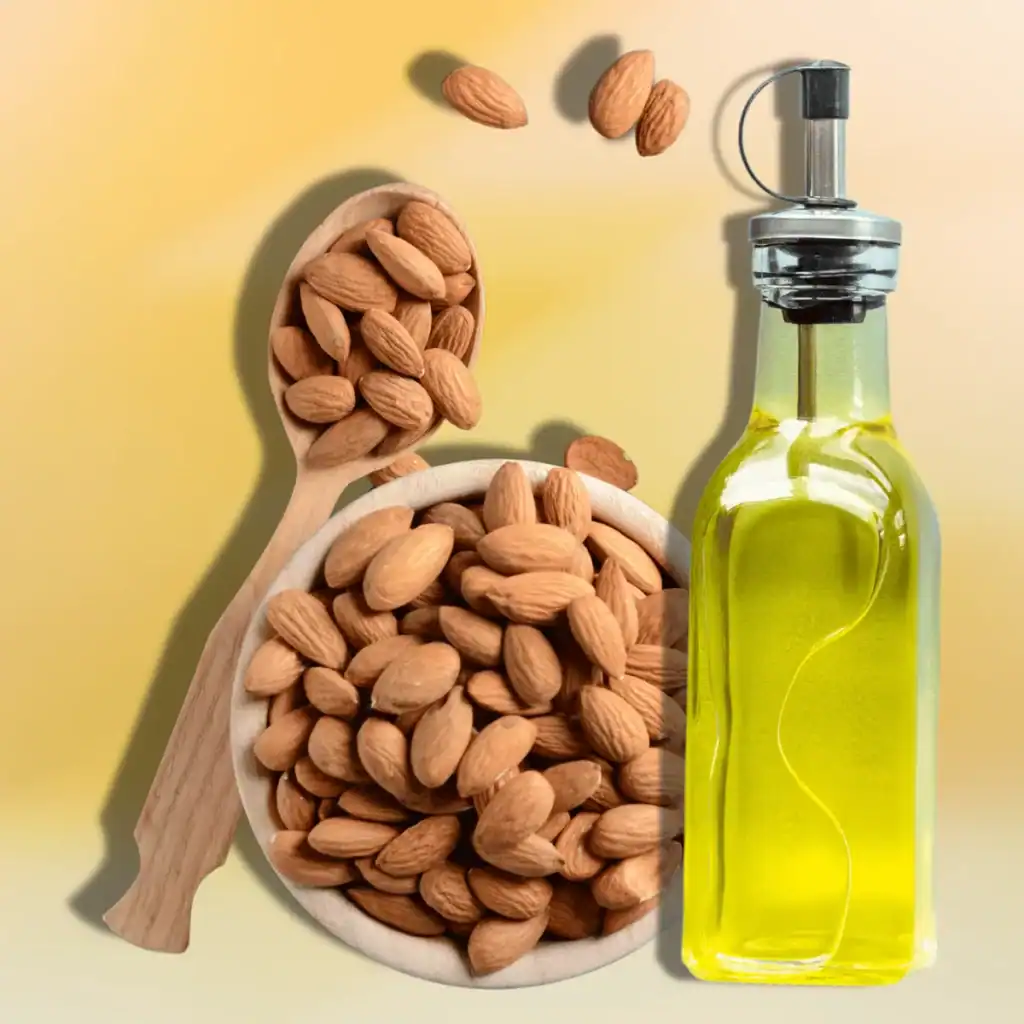
- A carrier oil – jojoba oil, sweet almond oil, or almond oil works beautifully for infusion
- A clean glass jar with a tight-sealing lid
- A mesh strainer or cheesecloth
- A dark glass bottle with a dropper (for storing your finished face oil)
- Optional: a few drops of vitamin E or a mild essential oil to extend the shelf life
Two Ways To Infuse Rosehip Oil (Depending On Your Mood)
You’ve got two beautiful options—one slow and grounding, one a little more instant gratification.
1. Cold Infusion (for the ritual lover)
This method is slow and steady—the skincare equivalent of reading a novel in the bath.
How to:
- Lightly crush your dried rose hips with a clean mortar and pestle (or the bottom of a mug works in a pinch).
- Fill a glass jar about halfway with the crushed rosehips.
- Pour your chosen carrier oil (like jojoba or almond) over the hips until fully submerged.
- Seal the jar and leave it on a sunny windowsill for 4 to 6 weeks. Shake gently every few days.
- Once infused, pour through a mesh strainer or cheesecloth into a clean container, and transfer to your dropper bottle.
This method preserves delicate fatty acids and yields a richer, deeper oil that your skin will drink up.
2. Warm Infusion (if you’re short on time)
Ideal if patience isn’t your strong suit (or you want to gift a few bottles without waiting a month).
How to:
- Use the same rosehip and oil ratio as above.
- Place your jar in a double boiler or set it inside a slow cooker on the lowest heat setting.
- Let the infused oil warm gently for 4 to 6 hours, never letting it boil.
- Strain, bottle, and label with the date.
Quick tip: Warm infusion gives a shorter shelf life—about 3 to 4 months—so make smaller batches and store in a cool, dark place.
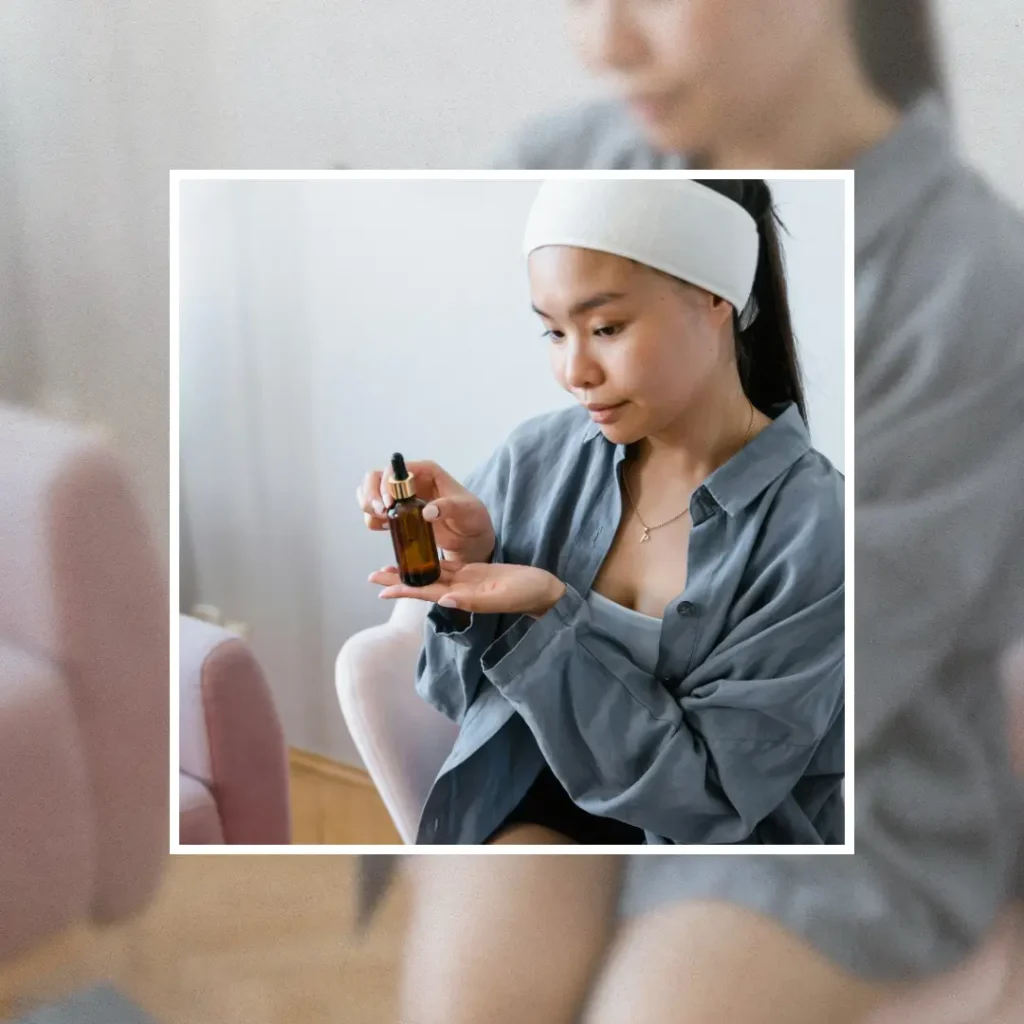
How To Use Your Homemade Rosehip Face Oil
This is where the magic happens. Your rosehip oil is now ready to become part of your skincare rhythm—morning, night, or both.
- Massage 2–3 drops into damp skin after cleansing and toning.
- Blend with your moisturiser for an extra hydration hit.
- Use it on dried cuticles, elbows, or anywhere needing a little extra care.
- A drop or two under the eyes (if your skin tolerates oils) can soften and smooth.
This oil is gentle enough for daily use, and the essential fatty acids help support skin repair over time—especially after too much sun or screen exposure.
FAQs
Rosehip oil plays well with most ingredients, especially in minimal routines, but there are a few exceptions to keep in mind. It’s best to avoid layering it directly with strong exfoliants like AHAs, BHAs, or high-dose retinoids, as it can occasionally intensify sensitivity, especially on reactive skin. If you’re using actives, try spacing them out—actives in the evening, rosehip oil in the morning, or vice versa—to give your skin space to breathe and recover.
Yes, and quite brilliant at it. Rosehip oil is packed with essential fatty acids and naturally occurring vitamin A, which help support skin elasticity, soften fine lines, and improve overall tone. It doesn’t deliver the drama of prescription-strength retinoids, but it works beautifully over time, especially on skin that craves hydration and gentle repair. Think of it as nourishment, not transformation.
Rosehip oil is generally well-tolerated, but it’s not entirely without caveats. For very oily or acne-prone skin, it can occasionally trigger breakouts, especially if it’s not cold-pressed or goes rancid (watch the shelf life, and always store it in a dark bottle away from heat). It also oxidises faster than some oils, so it’s worth buying or making it in small batches and using it consistently.
Mostly, yes. Rosehip oil is considered non-comedogenic and safe for most skin types, including dry, sensitive, and mature skin. That said, no single ingredient is universally perfect. If your skin is very reactive or you’re prone to rosacea or cystic breakouts, patch testing is your best friend. Look for cold-pressed, organic options where possible, and always check the ingredients if you’re buying pre-made blends.
Not quite—but they don’t serve the same purpose. Retinol is a lab-formulated vitamin A derivative known for its potency in stimulating cell turnover. Rosehip oil, on the other hand, contains a natural form of vitamin A in gentler concentrations, making it far less intense—but also far less irritating. It’s not a replacement for retinol in a clinical sense, but it’s a brilliant, barrier-loving alternative for those who want glow without the flake.
Final Thoughts
Making your own rosehip-infused oil isn’t just about the end result (though your skin will absolutely LOVE it). It’s also about reconnecting with the process—slowing down, being intentional, and finding a quiet kind of joy in creating something with your own hands.
Plus, there’s something quietly luxurious about knowing exactly what’s in your bottle. No filler ingredients. No synthetic fragrances. Just rosehips, a nourishing carrier oil, and care.
And in a world of fast beauty, that alone feels pretty radical.