Heads up! We may use affiliate links in this post. You'll never pay more, but we might earn a small commission if you buy - thanks for supporting us! See our full disclosure here.
Air dry clay has had a serious moment — and it’s not hard to see why.
No kiln, no specialist equipment, no pottery class required.
Just clay, your hands, and a surprisingly satisfying creative process that’s accessible enough for a complete beginner and versatile enough to keep experienced crafters genuinely engaged.
The finished results, when done well, look far more considered than the process that produced them.
PIN FOR LATER
But here’s where a lot of people hit a wall, quite literally.
Air dry clay, once dried, is porous, fragile, and vulnerable to moisture.
Without proper sealing, even the most beautifully made piece can crack, warp, absorb water, or simply deteriorate faster than it should.
Sealing is the step that takes a finished piece from something you made to something that actually lasts.
The good news is that it’s straightforward once you know what you’re doing — and the difference between a sealed and unsealed piece is significant enough that skipping it really isn’t worth it.
Does Air Dry Clay Need To Be Sealed?
The short answer is yes — almost always.
Air dry clay is not waterproof in its natural state, and without a sealant, it will absorb moisture from the air, from handling, and from any contact with water.
This leads to softening, warping, and eventually cracking — none of which are great outcomes for something you’ve spent time making.
The exceptions are purely decorative pieces kept in a consistently dry indoor environment — a small sculpture displayed on a shelf, for instance, that will never be touched or exposed to humidity.
Even then, sealing improves the finish, adds durability, and protects the surface from dust and handling over time. For anything functional — bowls, planters, jewellery, coasters — sealing is non-negotiable.


When To Seal Air Dry Clay
Timing matters more than most people realise.
Sealing clay before it’s fully dry is one of the most common mistakes; it traps moisture inside the piece, which leads to the cracking and warping you were trying to prevent in the first place.
Air dry clay needs to be completely and thoroughly dry before any sealant is applied.
Drying time varies depending on the thickness of the piece, the humidity of the environment, and the specific clay brand, but as a general rule, allow at least 24 hours for thinner pieces and up to 72 hours for anything with significant thickness. When in doubt, wait longer.
The test: the clay should feel room temperature to the touch, not cool or slightly cold, which indicates remaining moisture.
It should also be uniformly the same colour throughout — most air dry clays are noticeably darker when wet and lighten fully as they dry.
How To Prepare Your Piece Before Sealing
A little preparation before sealing makes a meaningful difference to the final result.
- Sand the surface. Once fully dry, use fine-grit sandpaper — 220 grit works well — to smooth any rough patches, finger marks, or imperfections. Work gently and in circular motions, being careful around edges and any delicate details. This step is worth the extra few minutes — a smooth surface takes sealant more evenly and produces a more polished finish.
- Remove the dust. After sanding, wipe the piece with a slightly damp cloth or a soft dry brush to remove any clay dust. Allow it to dry completely before moving on.
- Paint first if you’re painting. If you’re adding colour, this is the stage to do it — after sanding and before sealing. Acrylic paints work best on air dry clay. Allow the paint to dry fully before applying any sealant on top.
The Best Sealants For Air Dry Clay
Different sealants produce different finishes and suit different projects. Choosing the right one depends on what you’ve made and what you want the finished piece to look and feel like.
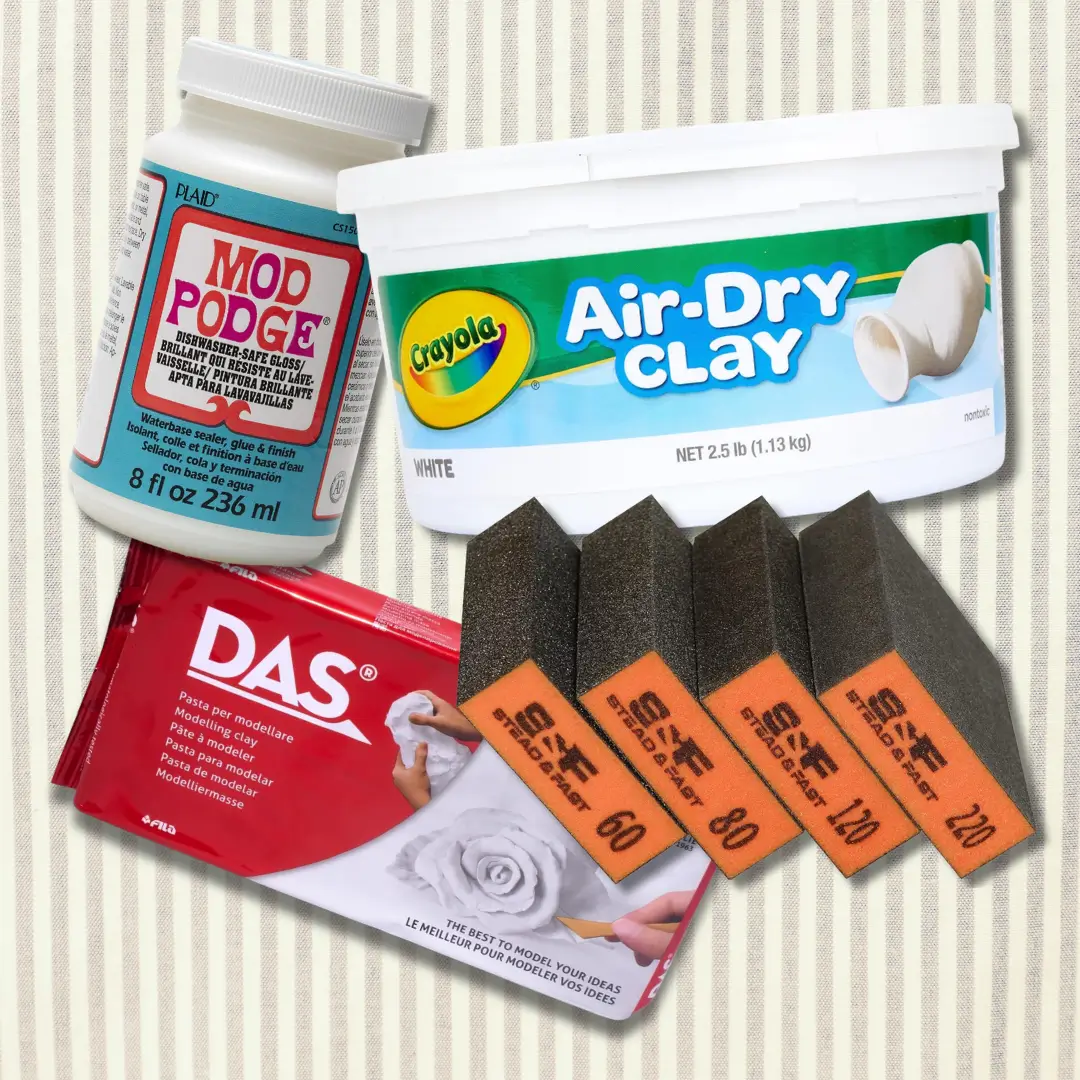
Mod Podge
The most accessible option and genuinely one of the best for most projects. Mod Podge is water-based, easy to apply, dries clear, and comes in matte, gloss, and satin finishes.
It’s not fully waterproof — more water-resistant — which makes it ideal for decorative pieces and jewellery, but not suitable for anything that will have regular contact with water.
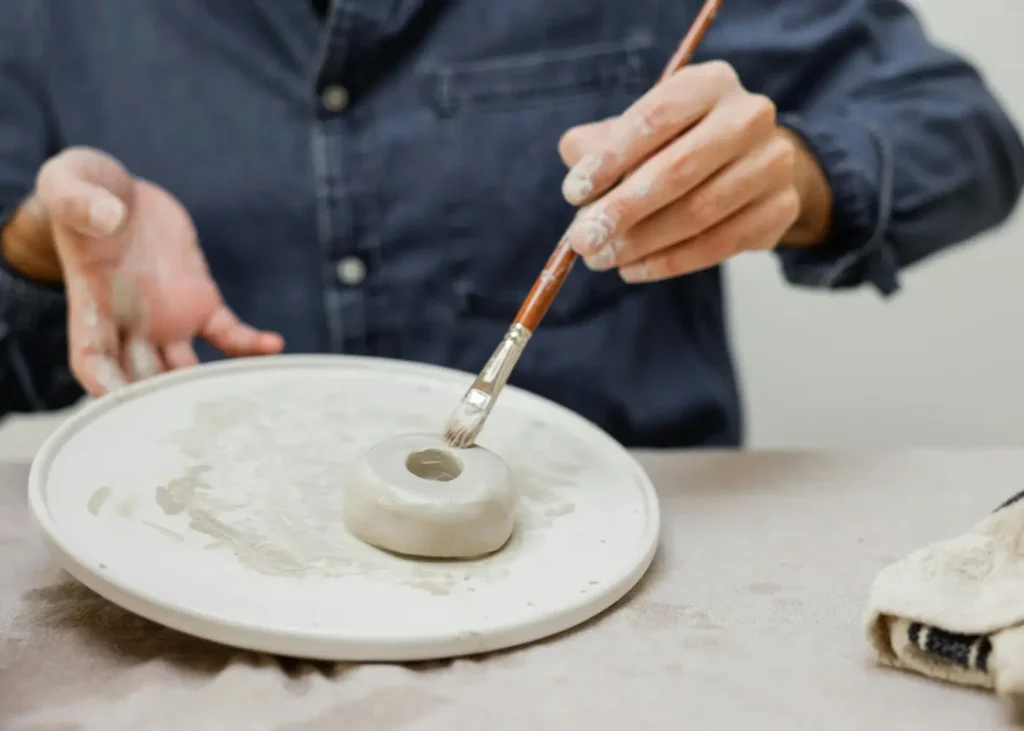
Apply in thin, even layers using a soft brush, allowing each coat to dry completely before adding the next.
Two to three coats give a good level of protection. The gloss finish in particular produces a beautiful, slightly ceramic-looking surface on painted clay that’s hard to achieve any other way.
Acrylic Sealant Spray
The fastest and most even application method, a spray sealant eliminates brush strokes entirely and gets into details and textured surfaces that a brush can’t always reach.
Available in matte, satin, and gloss finishes. Rust-Oleum and Krylon both make widely available, well-reviewed options that work reliably on air dry clay.
Apply in a well-ventilated area, holding the can about 30cm from the piece, using light even passes rather than one heavy coat.
Two to three light coats with drying time between each is the approach that produces the most even, streak-free result.
Epoxy Resin
For the most durable, professional finish, particularly for pieces that need to be genuinely waterproof, epoxy resin is the option worth considering.
It produces a thick, glass-like coating that’s fully waterproof and extremely hard-wearing.
The trade-off is the additional complexity: resin requires precise mixing ratios, a level surface to cure on, and some practice to apply without bubbles or drips.
It’s more of a commitment than Mod Podge or a spray sealant, but for functional pieces — coasters, trays, jewellery that needs to withstand daily wear — the result is significantly more durable than anything else on this list.
Varnish
A brush-on varnish — either water-based or oil-based — produces a hard, protective coating that sits somewhere between Mod Podge and resin in terms of durability.
Water-based varnishes dry faster and clean up easily. Oil-based versions take longer to dry but tend to produce a slightly richer, more durable finish.
Both work well on air dry clay. Apply in thin coats, sand lightly between coats with very fine sandpaper for a particularly smooth finish, and allow adequate drying time between each layer.
How To Apply Sealant: Step By Step
- Ensure the piece is fully prepared — sanded, dust-free, and painted if applicable.
- Choose your sealant based on the project, the desired finish, and the level of waterproofing required.
- Apply the first coat thinly and evenly — brush strokes in one direction for brush-on sealants, light even passes for sprays.
- Allow to dry completely. Don’t rush this — applying a second coat over a tacky first coat causes cloudiness and uneven texture.
- Apply a second coat in the opposite direction to the first — this ensures even coverage and minimises the appearance of brush strokes.
- Add a third coat if the piece needs additional protection or a more intense finish.
- Allow the final coat to cure fully — most sealants need 24 hours to reach their full hardness, even if they feel dry to the touch sooner.
Common Mistakes and How To Avoid Them
Sealing before the clay is fully dry. The most common and most damaging mistake. Always wait longer than you think you need to — trapped moisture is the enemy of a good seal.
Applying too thickly. Thick coats of sealant take longer to dry, are more prone to bubbling and dripping, and produce a less even finish than multiple thin coats. Patience here pays off significantly.
Skipping the sanding step. Surface imperfections are amplified by sealant, not hidden by it. A smooth surface before sealing always produces a better result than a rough one sealed over.
Using the wrong sealant for the project. Mod Podge on a piece that will have regular water contact, or resin on a delicate piece that needs a light finish — matching the sealant to the project matters more than most beginners realise.
Not testing first. If you’re using a new sealant or applying it to a painted surface for the first time, test on a small scrap piece first. Some sealants react with certain paints — better to discover this on a test piece than on a finished project.
Can You Make Air Dry Clay Waterproof?
Fully, completely waterproof — with the durability of fired ceramic — is not achievable with air dry clay, regardless of the sealant used.
The clay itself remains porous at a structural level, and while a good sealant dramatically improves water resistance, it doesn’t replicate the properties of kiln-fired clay.
For pieces that need genuine waterproofing — a planter that will hold wet soil, a vessel that will contain water regularly, resin gives the best result, but it still has limitations.
Managing expectations here is worth it: air dry clay is brilliant for what it is, and sealing extends its life and usability significantly.
It just isn’t the same as stoneware, and the best results come from working with that rather than against it.
The Best Air Dry Clay Brands To Work With
The quality of the clay itself affects how well it takes sealant — and not all air dry clays are equal.
- Das Air Dry Clay — the most widely available option and genuinely reliable for most projects. Takes paint and sealant well and dries to a smooth, workable finish.
- Crayola Air Dry Clay — ideal for beginners and younger crafters. Easy to work with, affordable, and widely available.
- Activa Celluclay — a paper-based air dry clay that produces a particularly smooth finish and takes sealant exceptionally well. Worth trying for more detailed or refined projects.
- La Doll Premier — a Japanese air dry clay that produces an almost porcelain-like finish when sanded and sealed properly. A favourite among more experienced crafters for jewellery and fine detail work.
Final Thoughts
Sealing air dry clay is the step that makes everything you’ve made actually last — and once you’ve done it properly, it becomes as much a part of the process as the making itself.
Choose the right sealant for your project, prepare your piece properly, apply in thin patient layers, and the result will be something genuinely worth keeping.
The craft is the fun part. The seal is what protects it.